
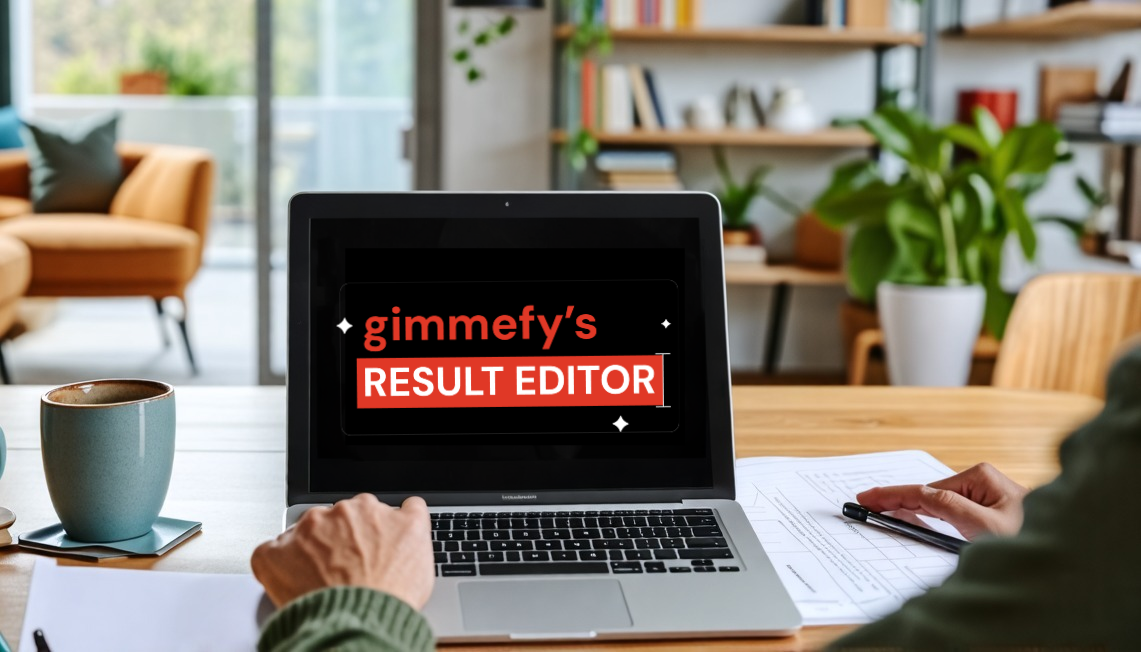
Imagine you’ve just wrapped up a task with gimmefy, and the result is almost perfect—almost. You’re staring at the screen, knowing there’s something more you could do, that one last tweak to elevate it from good to extraordinary. You feel the anticipation building, like the final puzzle piece falling into place. But what is it?….
The gimmefy Result Editor. Whether you’re adjusting the tone of a press release, adding a killer image to a pitch, or simply giving your text that extra shine with the right formatting, this is your secret weapon for refining content to perfection.
Here’s How to Use the Result Editor
In this step-by-step guide, we’ll walk you through everything you need to know to get the most out of this powerful feature. Let’s dive in!
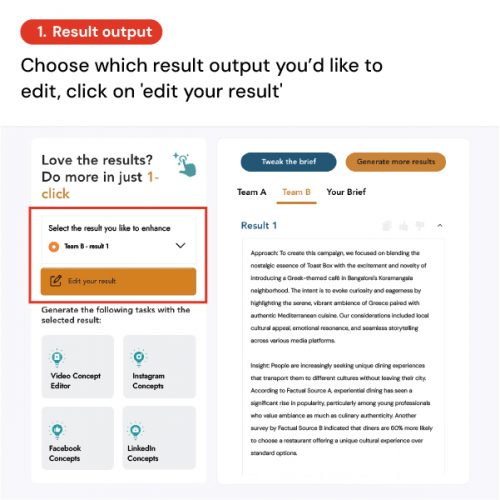
Step 1
Start by selecting the result output you want to enhance, then click “edit your result” to begin refining.
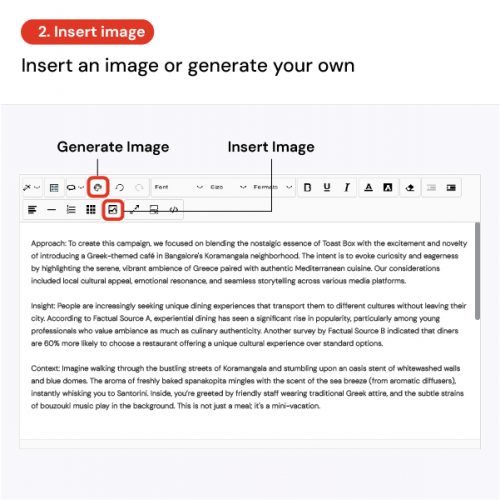
Step 2
Need visuals? Either generate a new image or insert one from your library with just a few clicks.
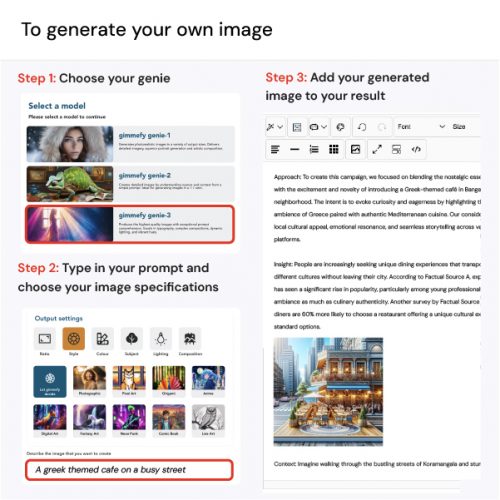
Step 3
Create the perfect image by choosing your model, typing in your prompt, and adding the generated image to your result.
Step 4
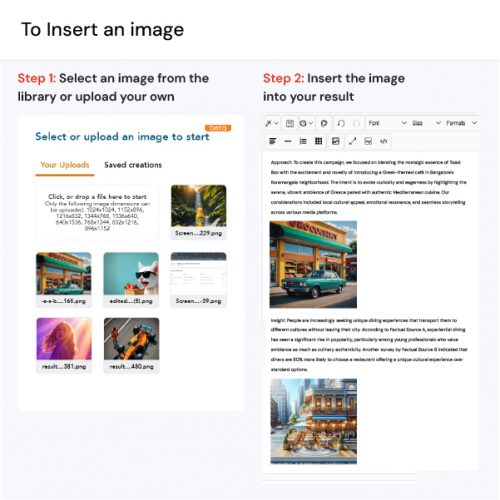
Upload your own image and seamlessly insert it into your result to make it truly stand out.
Step 5
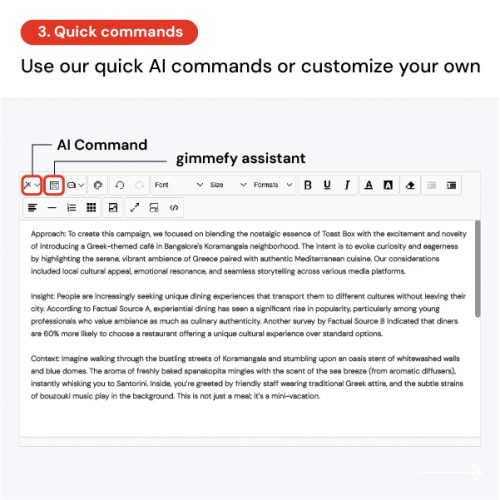
Optimize your text quickly by selecting a command or customizing your own with gimmefy assistant.
Step 6
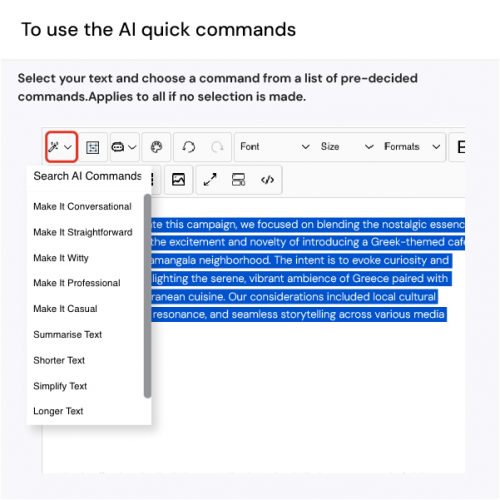
Choose from pre-set AI commands to tweak your content in a snap or or craft your custom command for precise edits.
Step 7
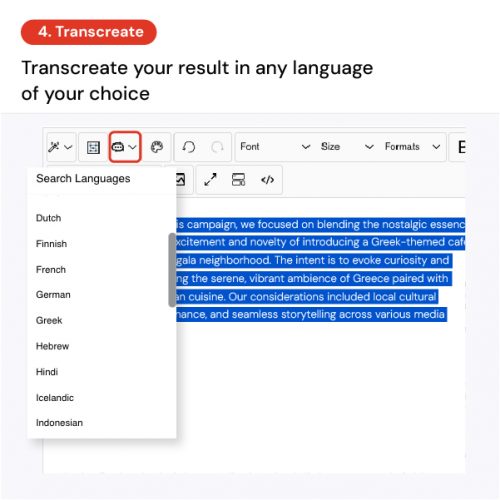
Break language barriers by transcreating your result into any language of your choice with just a click.
Step 8
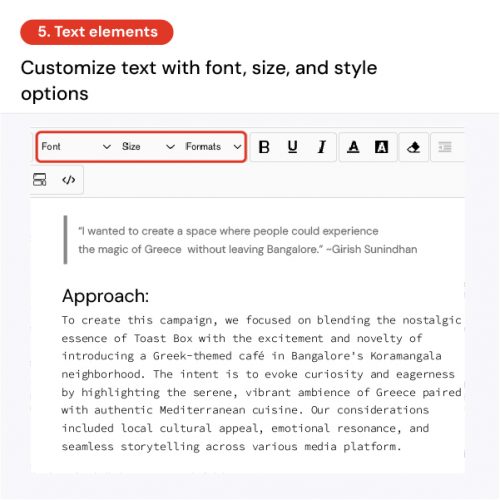
Adjust fonts, sizes, and styles to give your content the perfect look and feel.
Step 9
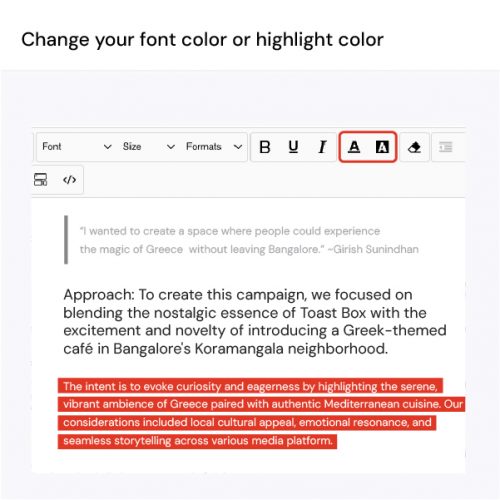
Make your key points pop by changing font colors or adding highlights to your text.
Step 10
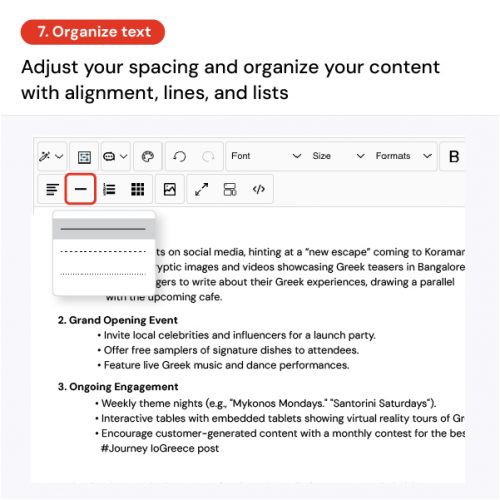
Structure your content with alignment, lines, and lists.

Step 11
Organize your data clearly by inserting tables into your content.
Step 12
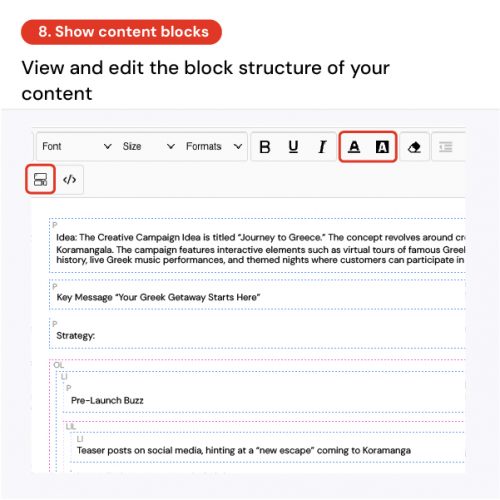
View and edit the block structure of your content for easy navigation.
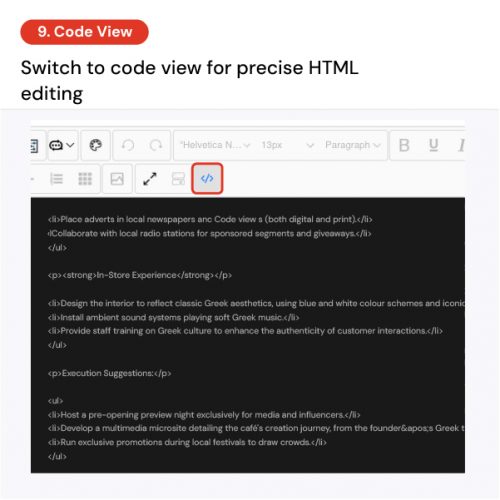
Step 13
Switch to code view for precise HTML editing and formatting.
Alright, now that you’ve got the full lowdown on gimmefy’s Result Editor, it’s time to put it to work! Whether you’re adjusting the tone, fine-tuning your formatting, or adding that eye-catching image, the Result Editor ensures that your final output isn’t just good—it’s gimmefy good. Go ahead, give it a spin! We can’t wait to see what you’ll come up with.
All set to explore? Let’s GO gimmefy!


Leave a Reply