When it comes to optimising your website for search engines, title tags play a critical role. Crafting effective and keyword-rich title tags can greatly improve your website’s visibility and click-through rates. In this step-by-step guide, we’ll walk you through the process of using a Website SEO Title Tags Generator to enhance your website’s search engine optimisation (SEO) efforts.
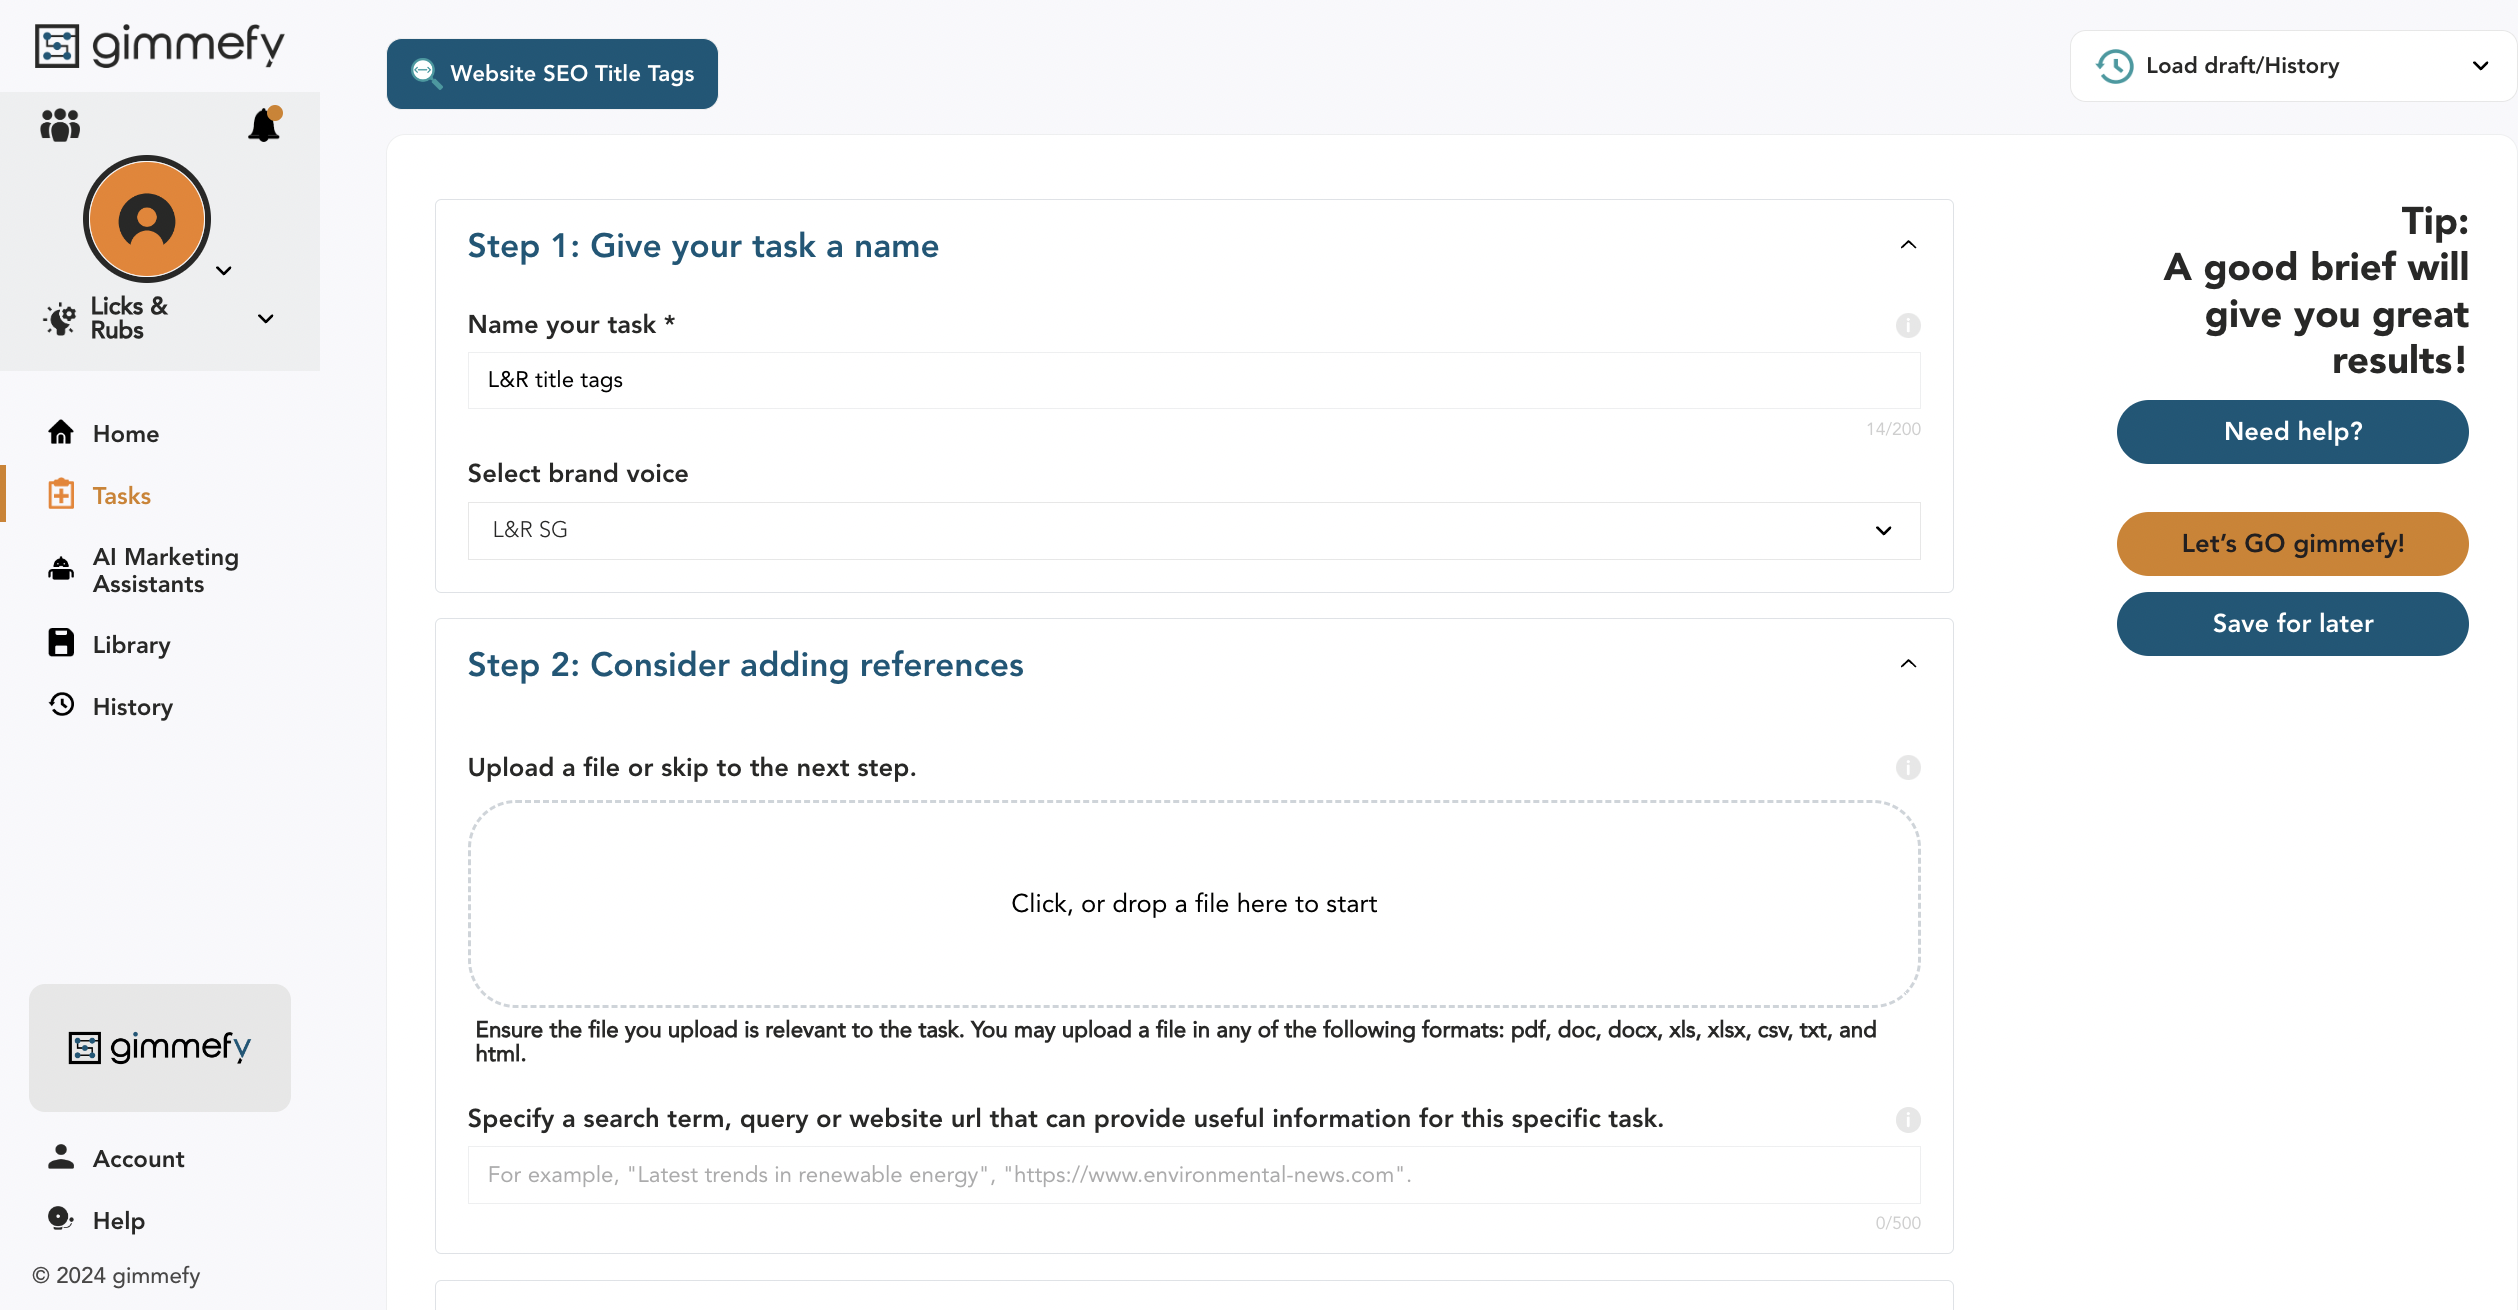
Step 1: Name your task for organisation
Start by giving your task a descriptive name. This will help you stay organised as you work on optimising title tags for different pages of your website.
Step 2: Enter your business or brand name
Enter the name of your business or brand as it should appear in the title tags. This ensures that the generated title tags align with your specific company and its branding.
Step 3: Define your target audience or customer
Clearly identify your target audience or customer segment. Consider demographics (age, gender, location), interests, pain points, motivations, preferences, or any other relevant factors that impact their online behaviour and interaction with search engines.
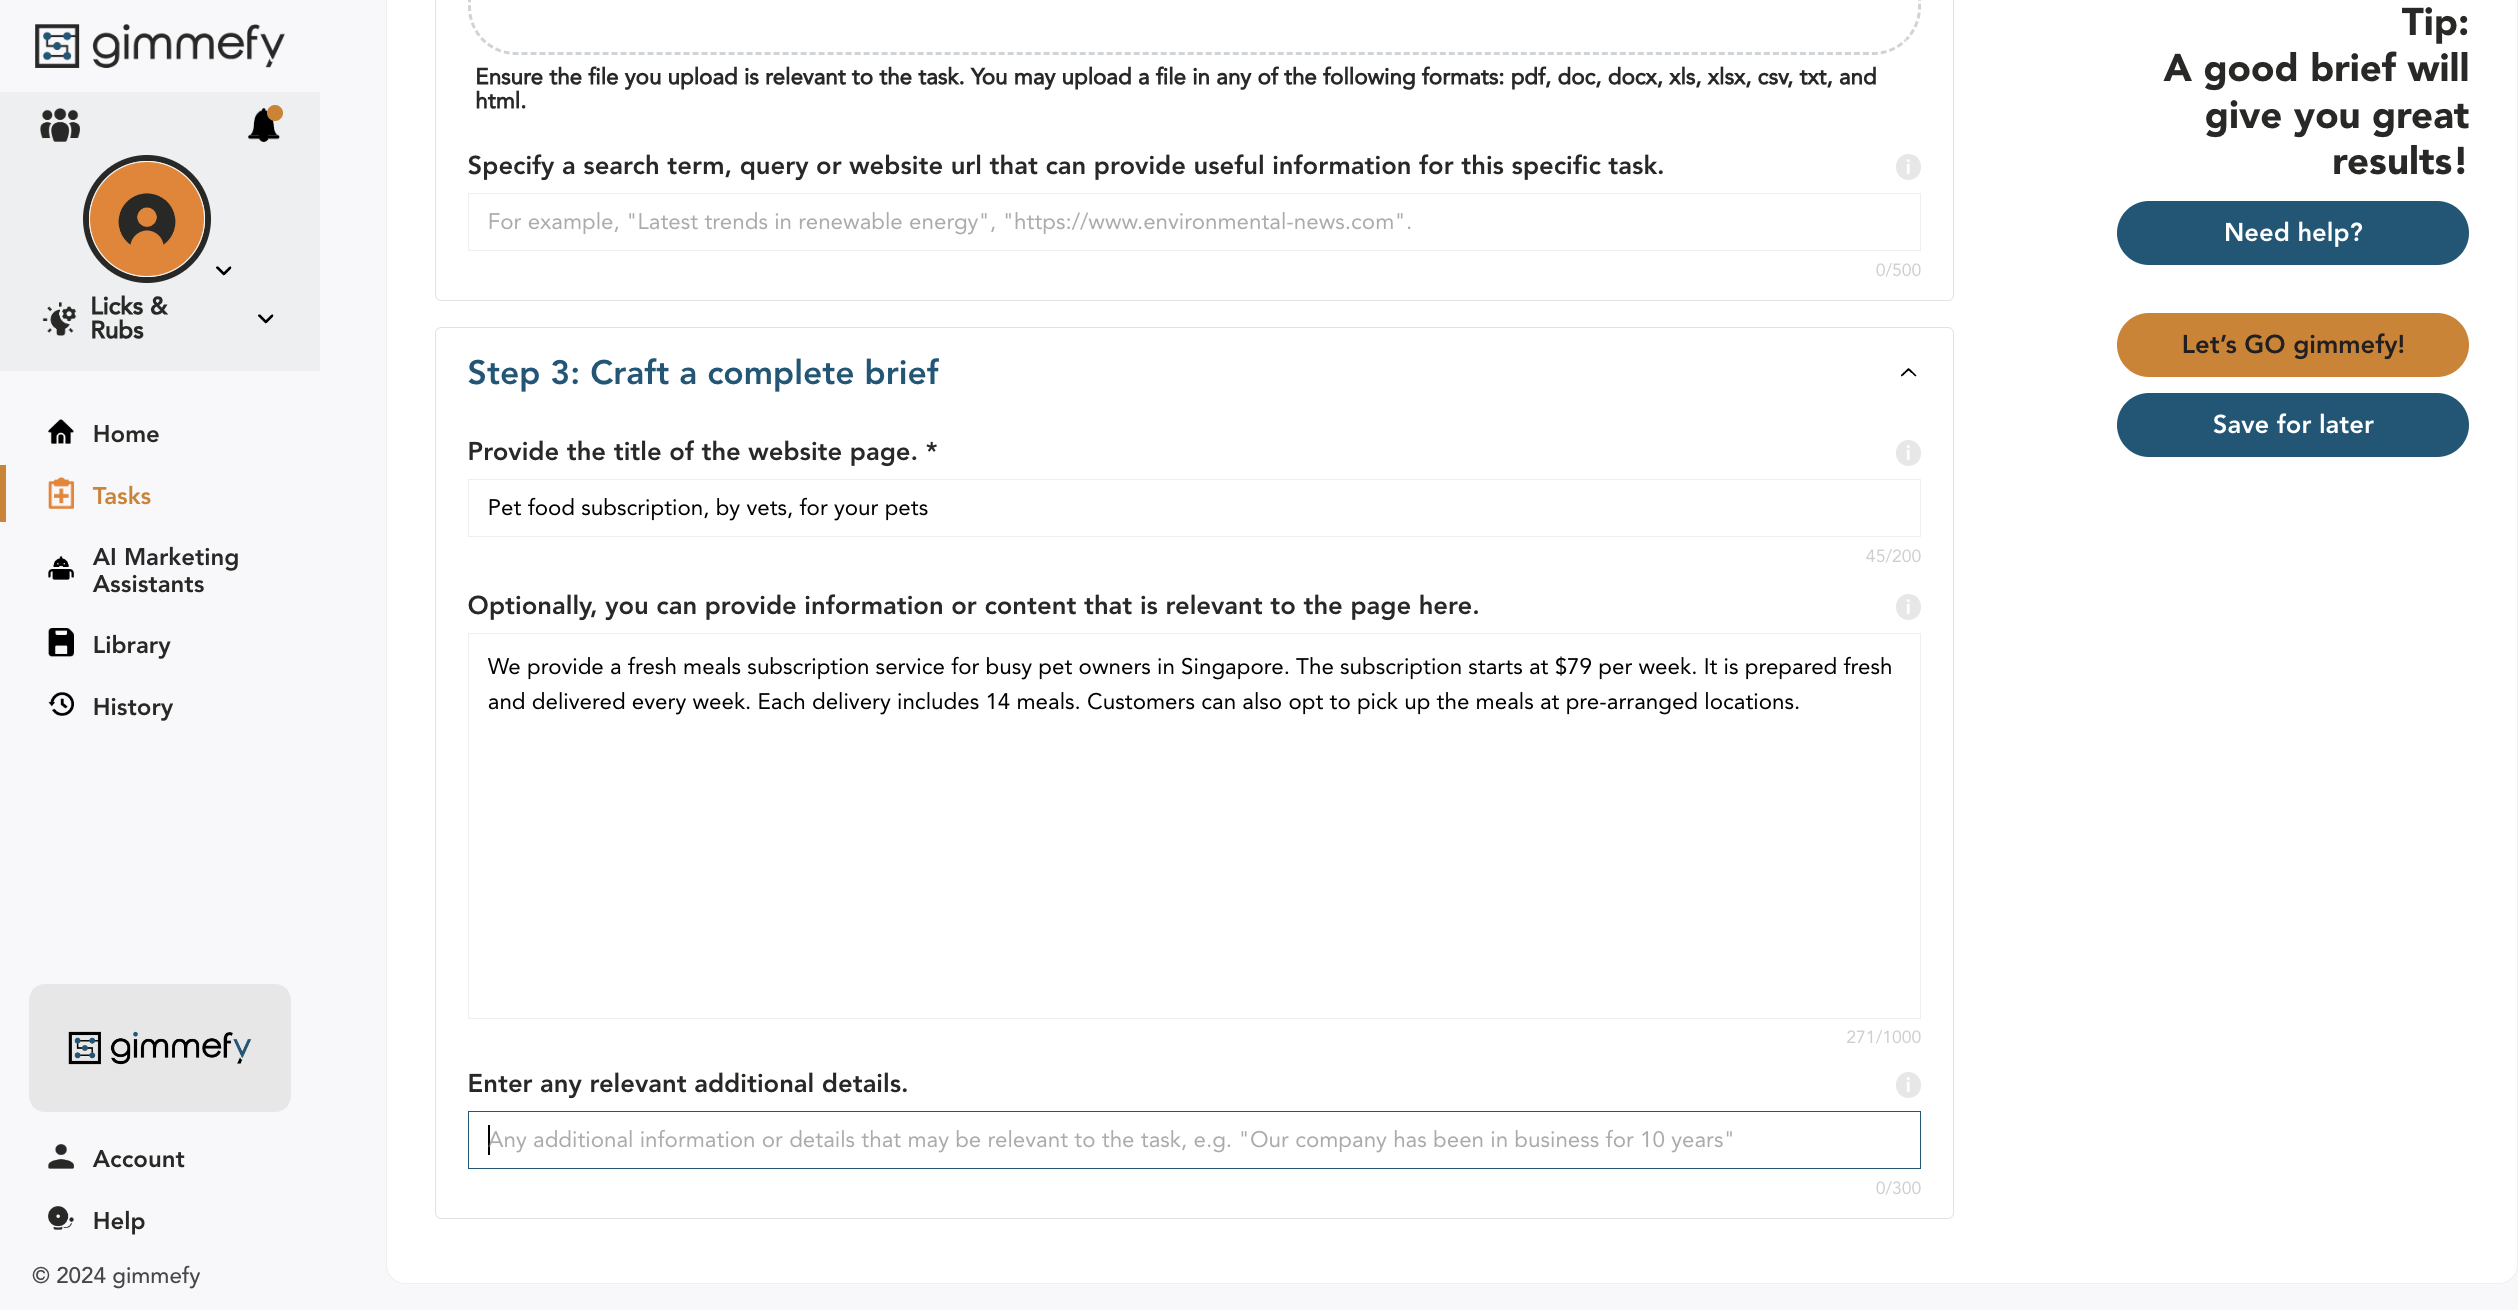
Step 4: Provide the title of the website page
Specify the title of the website page for which you are generating an optimised title tag. Whether it’s a product/service page, blog post, landing page, or any other type of webpage, ensure clarity in identifying which page specifically needs an improved title tag.
Step 5: Provide information or content that is relevant to the page
Share relevant information or existing content from the webpage that is closely related to the generated title tag. Include keywords or phrases that reflect the key message or focus of the webpage. This will ensure that the generated title tag accurately represents the contents of the page.
Step 6: Enter any relevant additional details
If there are any specific requirements or considerations for generating title tags, provide them here. This may include desired character limits, call-to-action phrases, branding guidelines, or any other factors that will impact the generated title tag.
Step 7: Use the Website SEO Title Tags Generator
Utilise the Website SEO Title Tags Generator tool to generate optimised title tags for your webpage. Input the necessary details such as your business/brand name, target audience information, and relevant page title/content. Follow the tool’s instructions to obtain a title tag that is optimised for search engines.
Step 8: Evaluate the generated title tag
Review the generated title tag in reference to your target audience and the content of your webpage. Assess whether it accurately reflects the purpose and relevance of the page while incorporating important keywords or phrases. Make adjustments if needed to ensure it aligns with your specific goals and objectives.
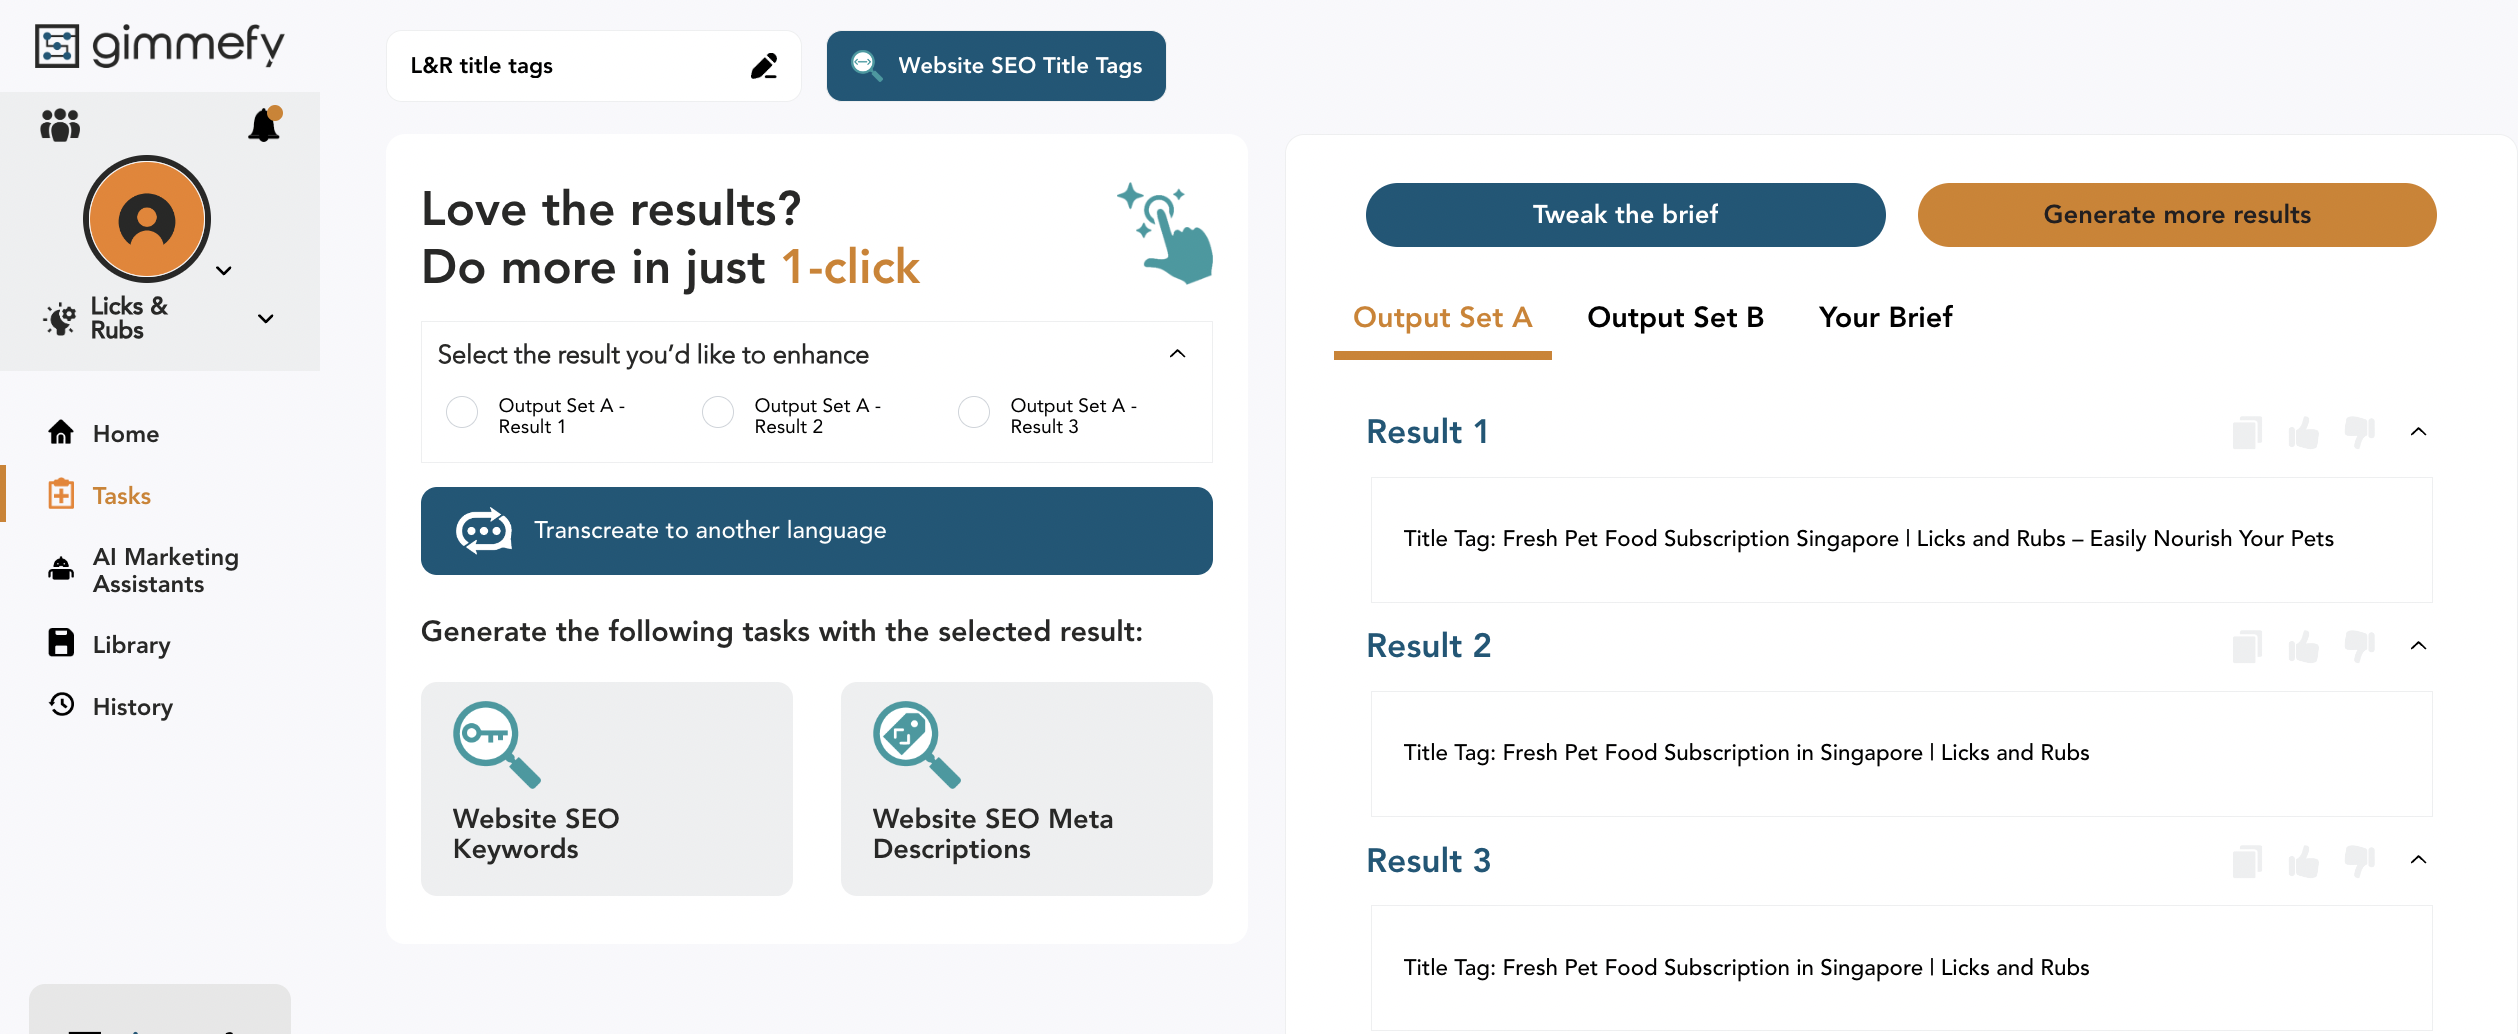
Here’s a sample result from the task prompt.
Step 9: Implement the optimised title tag
Once you are satisfied with the generated title tag, implement it within the HTML meta tags of your webpage. Place it in the appropriate location within the <head> section of your webpage code. Ensure proper formatting according to SEO best practices and check for any syntax errors.
Step 10: Monitor performance and make improvements
Regularly monitor the performance of your webpages in search engine rankings and user engagement metrics. Analyse data from tools like Google Analytics to assess how the optimised title tags contribute to improved visibility and click-through rates. Use this information to refine and optimise your title tags further over time.
By following these steps and utilising a Website SEO Title Tags Generator, you can enhance your website’s SEO efforts and increase its chances of ranking higher in search engine results pages. Remember to keep your target audience in mind when generating title tags and continually analyse their effectiveness to stay ahead in an ever-evolving digital landscape.


Leave a Reply